Hello there,
We are back with another beginner’s tutorial on the most popular Python web framework - Django. This tutorial is designed as a series, through which we’ll start from zero, and by the end of this tutorial, you will be able to understand the working of Django and create your projects in Django. We do not assume any prior understanding of Django or any other web framework, but you should have a basic understanding of Python programming and basic HTML & CSS. If you don’t know Python, then don’t worry, we have the beginner’s tutorial here
Django: The web framework for perfectionists with deadlines.
Django is one of the most favorite web frameworks preferred by the Python developer community.
Now, the question is, what is a framework? When we write a web server, we need to write code to connect to databases, serve static images and web pages, handle user-uploaded data, security of applications, etc., etc. Writing code from scratch can be tedious and we often don’t need to repeat that whenever we design a web application. Web frameworks solve this problem. They provide APIs for almost all things you need to set up a server. We only need to use the functionalities provided by the frameworks.
Speaking in terms of Django, Django comes with “batteries included”, meaning it has a lot of built-in functionalities, compared to other frameworks. So that, with minimal effort, we can set up a new project within minutes. As Django has a lot of functionalities, you might find a little difficulty when starting code, but I promise that you’ll love Django by the end of this tutorial series.
Why Django?
- Accelerated development speed: Django was designed to help developers take applications from concept to completion as quickly as possible.
- Batteries included: Django includes dozens of extras you can use to handle common web development tasks. Django takes care of user authentication, content administration, site maps, RSS feeds, and many more tasks — right out of the box.
- Easy to extend and scale: Some of the busiest sites on the planet use Django’s ability to quickly and flexibly scale to meet the heaviest traffic demands.
- Security: Django comes with many security mechanisms that help to avoid common developer security mistakes.
- Large community support: Django is supported by a large number of developers across the world, solutions to your common problems are just a single click away.
Where is Django used?
According to the latest statistics across the web, Django is the fifth most preferred backend web framework. Here is the list of a few most popular websites that run on Django, there are thousands of sites, but these are the sites that are featured on Django’s official page:
- Disqus
- Knight Foundation
- MacArthur Foundation
- Mozilla
- National Geographic
- Open Knowledge Foundation
- Open Stack
- And trust me, the tutorial that you’re now reading is also powered by Django :)
Installation
This tutorial is designed as an interactive one. We'll build a sample web application from scratch, and in the following tutorials, we’ll explore features of Django and add more functionality.
Since you have a basic understanding of Python, I assume all of you have a Python 3 interpreter installed and ready on your machine. We also need a virtual environment for installing Django and any additional Python packages. In Python 3, to create a virtual environment, use the following command in any directory of your choice.
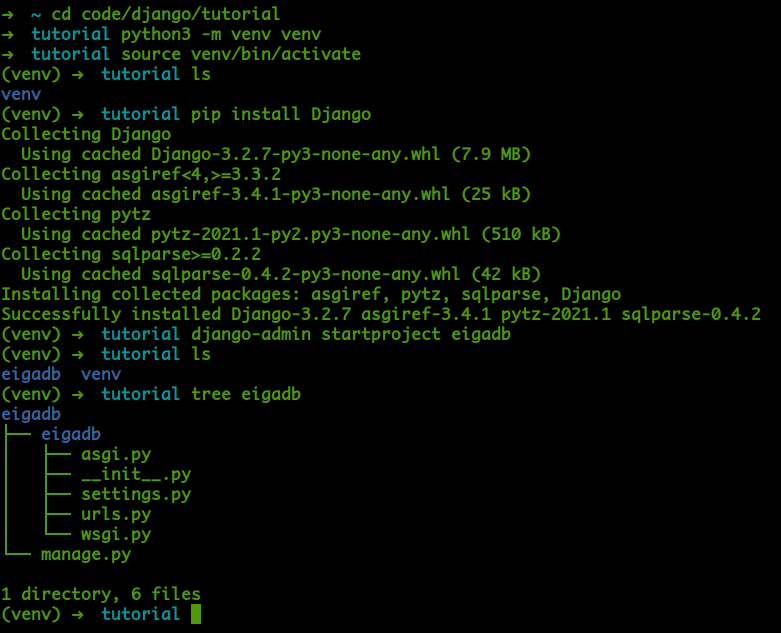
python3 -m venv venvFor example, I’m on an Ubuntu 20.04 machine and I do code in the ~/code/django/tutorial directory, and the above command creates a venv folder in my current directory. Now, why do we need a virtual environment is to isolate the development environment. Suppose if I work on two Django projects in different Django versions, I can have them running on different venvs, without any issue. Also, virtual environments help to save the dependencies required for a project in a requirements.txt file, which we can transport across multiple devices. We also have a detailed resource on Python virtual environments here
Now we have a virtual environment called venv and we activate this env using the command:
source venv/bin/activateTo install Django, we’ll use Python’s package installer pip. Enter the following command to install Django
pip install DjangoThis command will install the latest stable version of Django on our virtual environment. At the time of writing this tutorial, the latest stable version is 3.2.7.
Alright, now we have Django installed on our machine. In the following tutorial, we’ll be developing a website, which I call eigadb (eiga means movie in Japanese), which is used for displaying movie information, we’ll add more functionality to eigadb with each tutorial.
Starting a project
To create a project, we use the django-admin command:
django-admin startproject <project_name>

django-admin startproject eigadb
this command initializes a Django project inside /eigadb folder and creates the necessary folders.
We’ll look into the internals of each file in the next tutorial, but we already can run this project right now by using the command:
cd eigadb
python manage.py runserver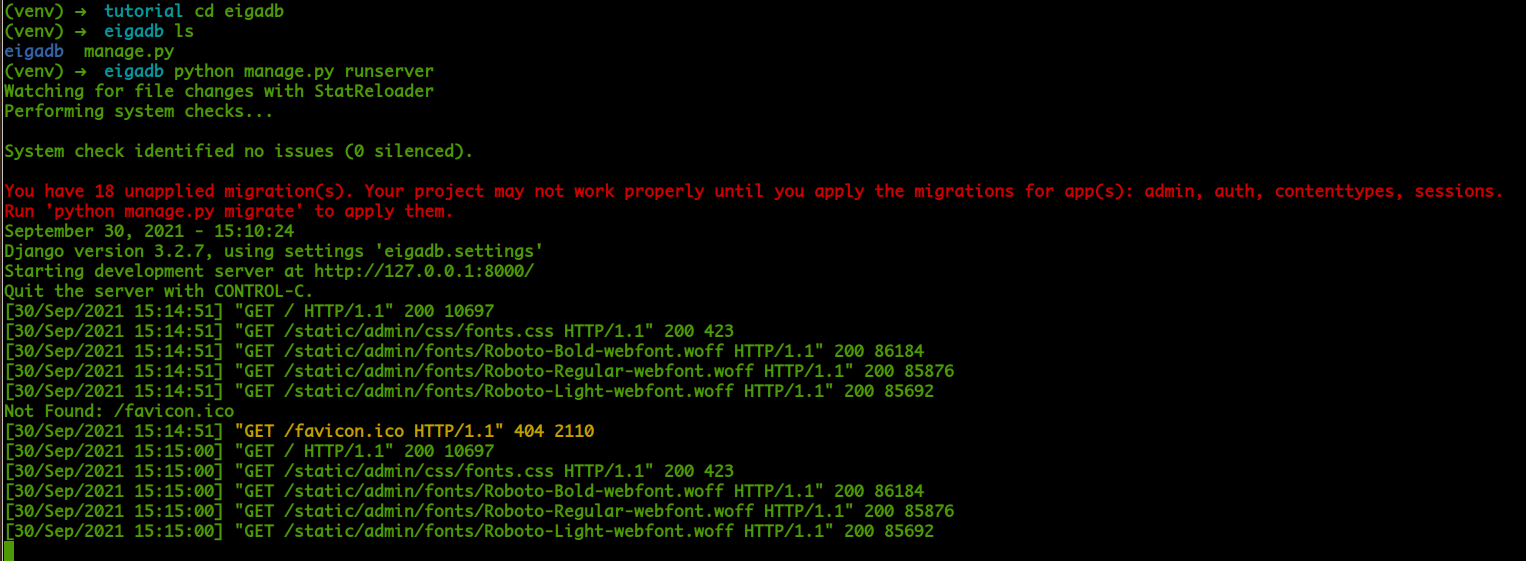
Now, you might see some warnings on the terminal, but don’t worry about them for now. And open the URL shown in the output on your favorite browser:
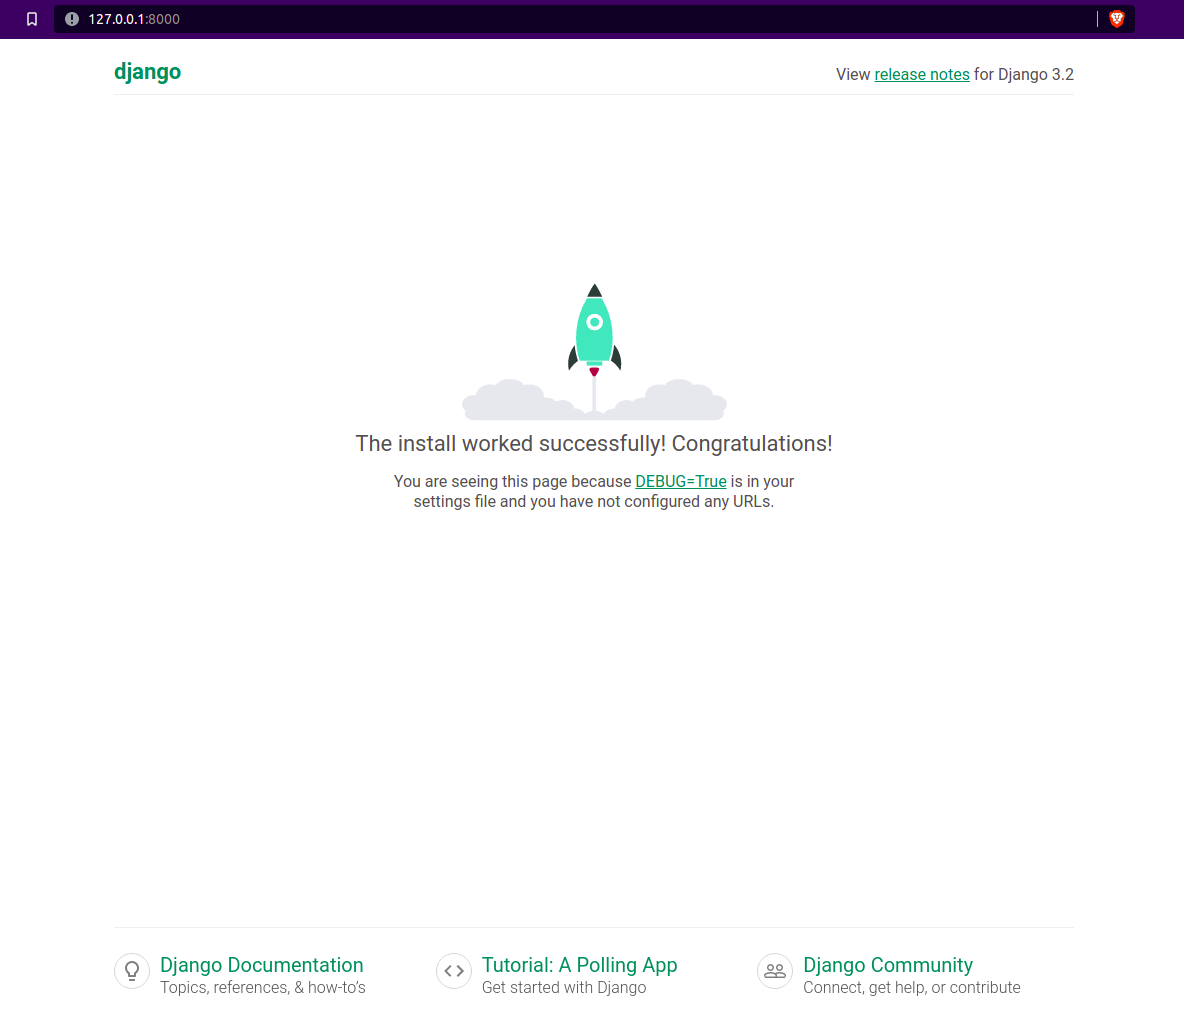
Yes, it works!. And congratulations! :clap: you have successfully installed Django and run your first project.
We use the command python manage.py runserver to start the webserver. The manage.py file is the command-line utility to interact with the Python interpreter. We’ll see more usage of this utility in coming tutorials.
Here, we execute the manage.py on the Python interpreter with the command-line argument runserver. Now, this command instructs the interpreter to start a server that listens on port 8000 of localhost (127.0.0.1). Suppose if we want to change the port, or we need to run on a specific IP Address, there is an option for that too.
python manage.py runserver host:portThis command initiates a server that will be helpful in development. The good thing is that when you change some code on your project, this server will automatically restart, no need to manually restart with every code change.
We learned a lot today, and we’ll see the rest in the next tutorial. Please don’t forget to subscribe to get the notification. You can also browse for code for this part of this tutorial here: https://github.com/arunshaji95/eigadb/tree/v1.0